")

")
")
Cài đặt Guacamole Apache trên Ubuntu 16.04 làm Remote Desktop Gateway | Hôm nay mình sẽ hướng dẫn các bạn cài đặt chương trình dịch vụ Guacamole Apache trên Ubuntu 16.04. Nếu bạn chưa biết chương trình này làm gì thì hãy đọc bài viết (Guacamole là gì? Tìm hiểu dịch vụ Remote Desktop Gateway), . Một chương trình khá hay ho và giúp tạo một lớp bảo mật cho việc access vào các hệ thống server backend.
Có thể bạn quan tâm chủ đề khác
– Remote Desktop là gì ?
– Hướng dẫn cài đặt Ubuntu Server 16.04 LTS
– Giám sát log Server Linux thời gian thực với công cụ Log.io
– Top chứng chỉ Linux quốc tế mà quản trị viên nên có
– Hướng dẫn cài đặt Java 8 trên Ubuntu
Contents
Guacamole Apache là gì ?
Trang chủ: https://guacamole.apache.org/
Trang download: https://guacamole.apache.org/releases/
Guacamole là một chương trình remote desktop gateway được viết bằng ngôn ngữ Java và hỗ trợ bởi Tomcat. Guacamole hỗ trợ ứng dụng Web HTML5 mà từ ứng dụng web sẽ tạo môi trường desktop hiển thị kết nối đến các máy chủ remote sử dụng giao diện (VNC,RDP) hoặc terminal (SSH Shell) ngay trên Web cho phép bạn thao tác như các trình remote desktop client.
Hiện trên mạng có hỗ trợ các bạn một số script để tự động cài đặt Guacamole Apache. Nhưng theo mình bạn nên thực hành cài đặt bằng tay nhiều bước để hiểu thêm về các thành phần cấu trúc của dịch vụ Guacamole. Sau này bạn cần xử lý sự cố thì còn biết xử lý ở đâu.
Guacamole cũng hỗ trợ nhiều hình thức lưu trữ thông tin về ” user, mật khẩu, các thông tin kết nối,.. ” : xml file, postgresql, mysql,… Trong bài viết này mình sẽ lựa chọn sử dụng Cơ Sở Dữ Liệu Dịch Vụ là MariaDB kết hợp để chứa các thông tin trên.
1. Cài đặt Guacamole Server
Đầu tiên bạn cần cài các chương trình, thư viện hỗ trợ cho Guacamole Server trên Ubuntu 16.04.
# sudo apt-get update
# sudo apt-get install git build-essential autoconf libtool dos2unix -y
# sudo apt-get install libcairo2-dev libvncserver-dev libjpeg-turbo8-dev libpng12-dev libossp-uuid-dev libfreerdp-dev libpango1.0-dev libssh2-1-dev libssh-dev libavutil-dev libwebp-dev libpulse-dev libvorbis-dev libswscale-dev libtelnet-dev freerdp ghostscript jq libavcodec-dev tomcat8 tomcat8-admin tomcat8-common tomcat8-docs tomcat8-user maven -y
Tải gói mã nguồn source Guacamole Server. Trên trang chủ sẽ redirect bạn đến các mirror gần vị trí địa lý bạn nhất.
# cd /opt/
# wget http://mirror.downloadvn.com/apache/guacamole/0.9.14/source/guacamole-server-0.9.14.tar.gz
# tar zxf guacamole-server-0.9.14.tar.gz
Tiến hành biên dịch mã nguồn Guacamole Server. Option ‘–with-init-dir‘, sẽ giúp tạo file startup service cho Guacamole server tại thư mục ‘init.d’.
# cd guacamole-server-0.9.14
# autoreconf -fi
# ./configure --with-init-dir=/etc/init.d
..
------------------------------------------------
guacamole-server version 0.9.14
------------------------------------------------

Library status:

freerdp ............. yes
pango ............... yes
libavcodec .......... yes
libavutil ........... yes
libssh2 ............. yes
libssl .............. yes
libswscale .......... yes
libtelnet ........... yes
libVNCServer ........ yes
libvorbis ........... yes
libpulse ............ yes
libwebp ............. yes
wsock32 ............. no

Protocol support:

RDP ....... yes
SSH ....... yes
Telnet .... yes
VNC ....... yes

Services / tools:

guacd ...... yes
guacenc .... yes

Init scripts: /etc/init.d

# make
# make install
Cập nhật cache thư viện hệ thống đã cài đặt hỗ trợ Guacamole.
# ldconfig
Thêm biến môi trường $GUACAMOLE_HOME vào Tomcat8 Env.
# echo "" >> /etc/default/tomcat8
# echo "# GUACAMOLE EVN VARIABLE" >> /etc/default/tomcat8
# echo "GUACAMOLE_HOME=/etc/guacamole" >> /etc/default/tomcat8
2. Cài đặt Guacamole Client
After completing the above steps, the guacamole server will have been installed. The following instructions will now help you to set up guacd (the proxy daemon that integrates Javascript with communication protocols such as RDP or SSH) and guacamole.war (the client), the component that makes up the final HTML5 application that will be presented to you.
2.1 Download Guacamole Client
Phía trang chủ Guacamole có hỗ trợ build sẵn file .war java làm Guacamole Client cho bạn trong trường hợp bạn không muốn tốn thời gian build tay lại.
# mkdir -p /etc/guacamole
# cd /etc/guacamole/
# wget http://mirror.downloadvn.com/apache/guacamole/0.9.14/binary/guacamole-0.9.14.war
# mv guacamole-0.9.14.war guacamole.war
# ln -s /etc/guacamole/guacamole.war /var/lib/tomcat8/webapps/
Download extensions hỗ trợ kết nối MySQL cho Guacamole.
# mkdir -p /etc/guacamole/extensions/
# cd /opt/
# wget http://mirror.downloadvn.com/apache/guacamole/0.9.14/binary/guacamole-auth-jdbc-0.9.14.tar.gz
# find /opt/ -type f -iname "*.tar.gz" -exec tar xf {} \;
# cp guacamole-auth-jdbc-0.9.14/mysql/guacamole-auth-jdbc-mysql-0.9.14.jar /etc/guacamole/extensions/
# ln -s /usr/local/lib/freerdp/guac*.so /usr/lib/x86_64-linux-gnu/freerdp/
Cài đặt chương trình ‘mysql-connector‘ cho Guacamole để hỗ trợ kết nối Database MySQL. Bạn sẽ download file .jar đó tại đây: https://dev.mysql.com/downloads/connector/j/
# cd /opt/
# mkdir -p /etc/guacamole/lib/
# wget https://dev.mysql.com/get/Downloads/Connector-J/mysql-connector-java-5.1.46.tar.gz
# tar xf mysql-connector-java-5.1.46.tar.gz
# mkdir -p /var/lib/guacamole/classpath/
# cd mysql-connector-java-5.1.46/
# cp mysql-connector-java-5.1.46-bin.jar /etc/guacamole/lib/
Tạo file cấu hình ‘/etc/guacamole/guacamole.properties‘. File này sẽ chứa thông tin giúp Guacamole client biết kết nối đến ‘guacd‘ như thế nào và hình thức kết nối MySQL lấy thông tin user chứng thực cho Web Interface ra sao.
# vi /etc/guacamole/guacamole.properties
guacd-hostname: 127.0.0.1
guacd-port: 4822

mysql-hostname: 127.0.0.1
mysql-port: 3306
mysql-database: guacamole_db
mysql-username: guacamole_user
mysql-password: vxNuMaJzKQB2m4Zk

# Auth provider class
auth-provider: net.sourceforge.guacamole.net.auth.mysql.MySQLAuthenticationProvider

# Location to read extra .jar's from
lib-directory: /etc/guacamole/lib/
Tạo softlink thư mục guacamole vào Tomcat8.
# rm -rf /usr/share/tomcat8/.guacamole
# ln -s /etc/guacamole /usr/share/tomcat8/.guacamole
2.2 Cài đặt CSDL MariaDB 10.2 trên Ubuntu
Giờ ta sẽ cài đặt dịch vụ Database Mariadb 10.2 trên Ubuntu 16.04 để chứa các thông tin chứng thực, thông tin connection,… của Guacamole. (Xem bài khác: Cài đặt MariaDB 10.2 trên CentOS 7)
# sudo apt-key adv --recv-keys --keyserver hkp://keyserver.ubuntu.com:80 0xF1656F24C74CD1D8
# sudo add-apt-repository 'deb [arch=amd64,i386,ppc64el] http://ftp.yz.yamagata-u.ac.jp/pub/dbms/mariadb/repo/10.2/ubuntu xenial main'
# sudo apt-get update
# sudo apt-get install mariadb-server mariadb-client -y
# mysql_secure_installation
Khởi tạo database và user database cho Guacamole sử dụng.
# mysql
> create database guacamole_db;
> grant all privileges on guacamole_db.* to 'guacamole_user'@'127.0.0.1' identified by 'vxNuMaJzKQB2m4Zk';
> flush privileges;
> exit
Khởi động MariaDB Database.
# systemctl restart mysql
# systemctl enable mysql
Import các table mẫu Guacamole .
# cat /opt/guacamole-auth-jdbc-0.9.14/mysql/schema/*.sql | mysql -u root -p'<pass_root_mysql>' guacamole_db
2.3 Khởi động Guacamole
Giờ bạn sẽ tiến hành khởi động chương trình Guacamole.
# /etc/init.d/tomcat8 restart
# /etc/init.d/guacd start
3. Truy cập giao diện web Guacamole Client
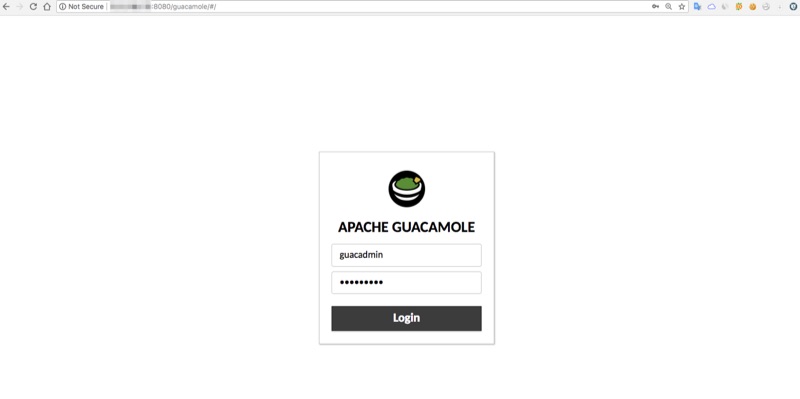
Giờ bạn hãy mở trình duyệt web lên và truy cập vào địa chỉ IP của Guacamole Server với thông tin đường dẫn như ở dưới.
- URL web Guacamole: http://<ip>:8080/guacamole/
- Thông tin user/pass mặc định đăng nhập web: guacadmin/guacadmin
Bạn hoàn toàn có thể linh động cài đặt thêm Nginx làm reverse proxy cho ứng dụng Tomcat8 Guacamole Server phía dưới.
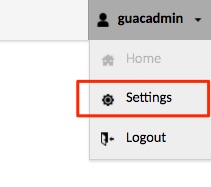
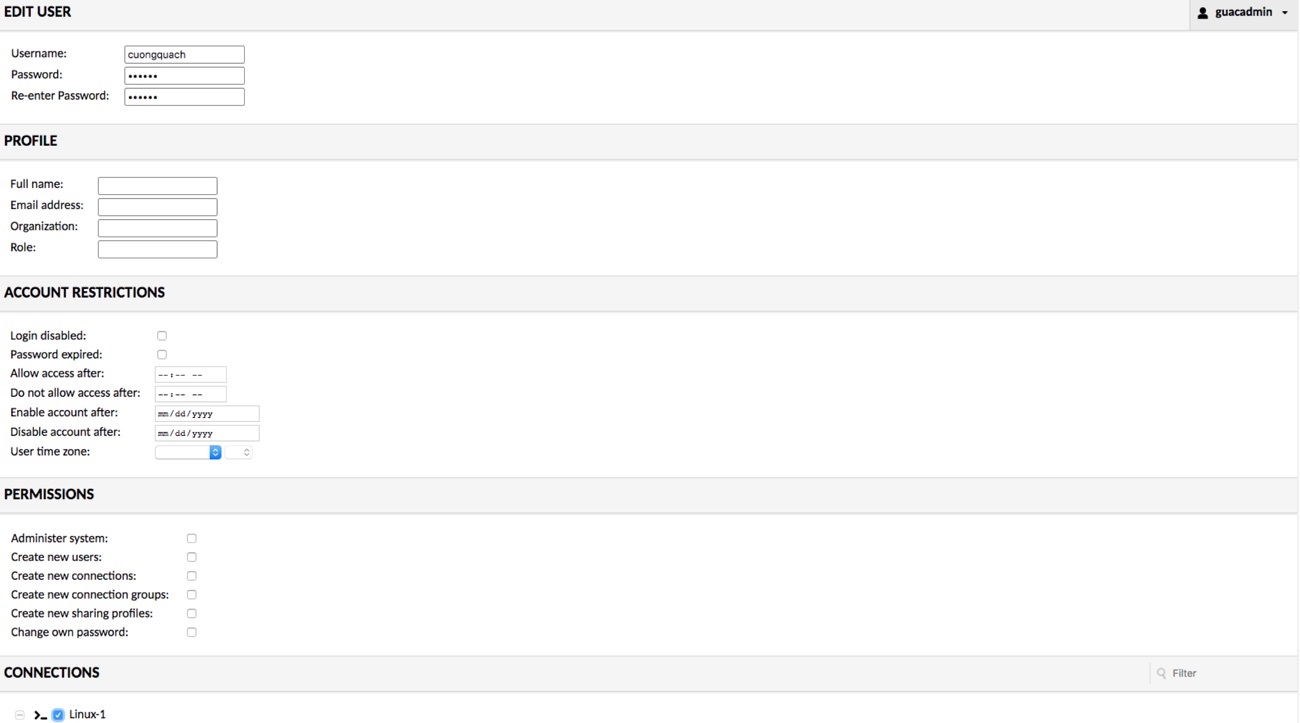
Để thực hiện điều chỉnh khởi tạo thông tin user và thông tin connection, ta sẽ vào phần ‘Settings‘ ở góc phải. Các phần này các bạn tự trải nghiệm nhé.
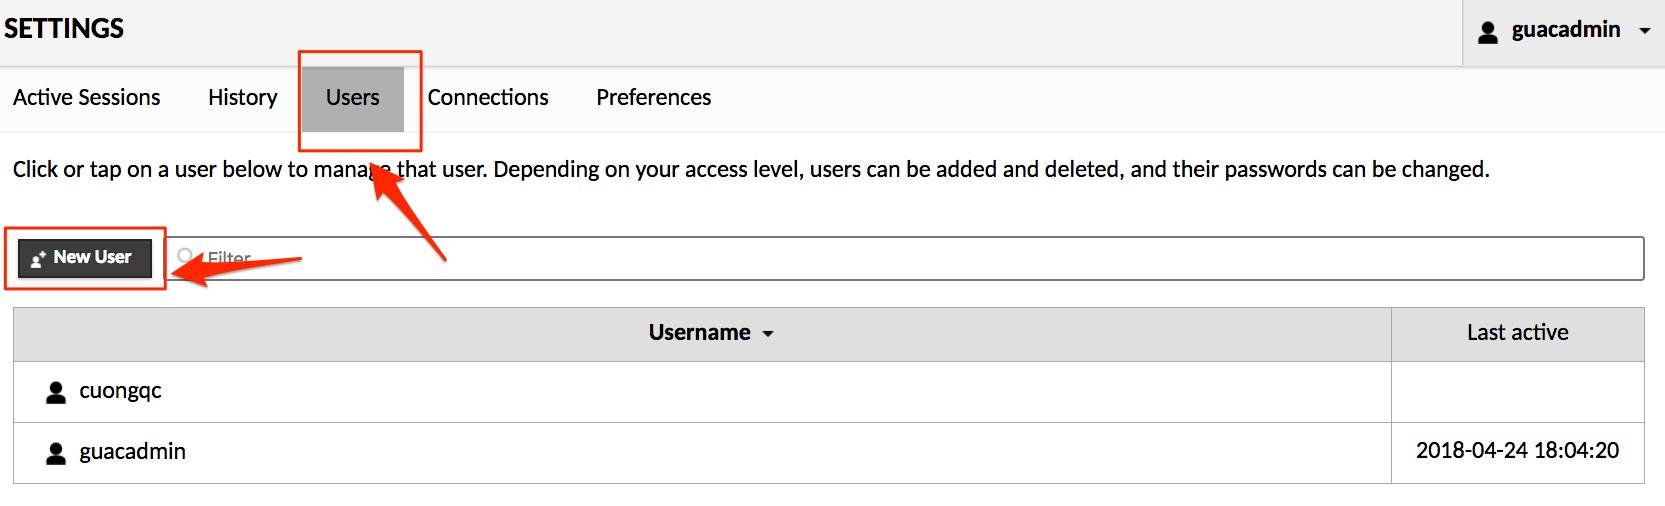
3.1 Tạo user
3.2 Tạo connection profile


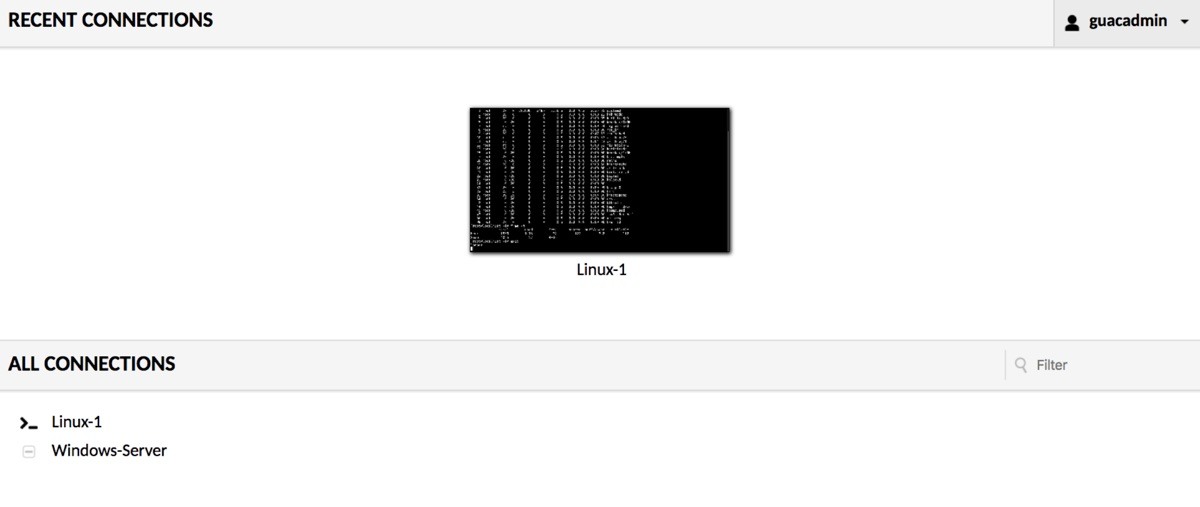
3.3 Trang home quản lý connection
 Tổng kết
Vậy là bạn đã biết cách cài đặt Guacamole Apache trên Ubuntu 16.04 để có thể làm Remote Desktop Gateway kiểm soát đầu kết nối vào các hệ thống backend phía sau. Chúc các bạn thành công.
Nguồn: https://cuongquach.com/


 trên CentOS 7")


")

 – Download PDF")
")
 mới nhất")